All Posts By

admin

How to Build a Hackintosh – General Overview

By | Hackintosh | No Comments

Those who are unfamiliar with Hackintosh will appreciate this overview of general steps to preparing a machine and running a Hackintosh!  First, always start by resetting your BIOS to default settings.  You want to make sure C-States/Power States are disabled and Disable Frequency Scaling.  Additionally, do not use Intel Raid on your motherboard, as this will not work when trying to install.

Clover Location Choice:

Choosing where to install Clover is critical.  You must decide if you want to boot from a USB key every time or install directly to your Hard Drive.  When installing to your Hard Drive be careful that you know where your Kexts are loading from.  I personally prefer booting off a USB key and the guides are built around this.  Our Install Guides will work without changing your /S/L/E – and should boot perfectly.

Step 1.  Create a bootable installer for macOS

Here we setup macOS Sierra and install it onto the USB key.

Step 2.  Clover Install USB key

Clover is the Bootloader which will allow us to see our hard drive that has OS X installed to it.  We add this after we have created a USB installer in step 1, otherwise it would be overwritten.

Step 3. Add Kexts to the EFI Partition of the device you’ve installed Clover to (USB most likely) for Motherboard

Kexts are like Drivers.  We need these to access certain hardware such as ethernet cards or audio cards.

Step 4.  Install

Configuration after Install

Clover Configurator is used to configure Clover config file easily with a GUI.  First Download and launch Clover Configurator.  Mount your Boot drive that has Clover installed on it.  Click the import button in the bottom left to open you config.xml from /EFI/Clover/

Kext Utility will help you easily install additional Kexts.  After the kext is installed the directory permissions will be re-written automatically.

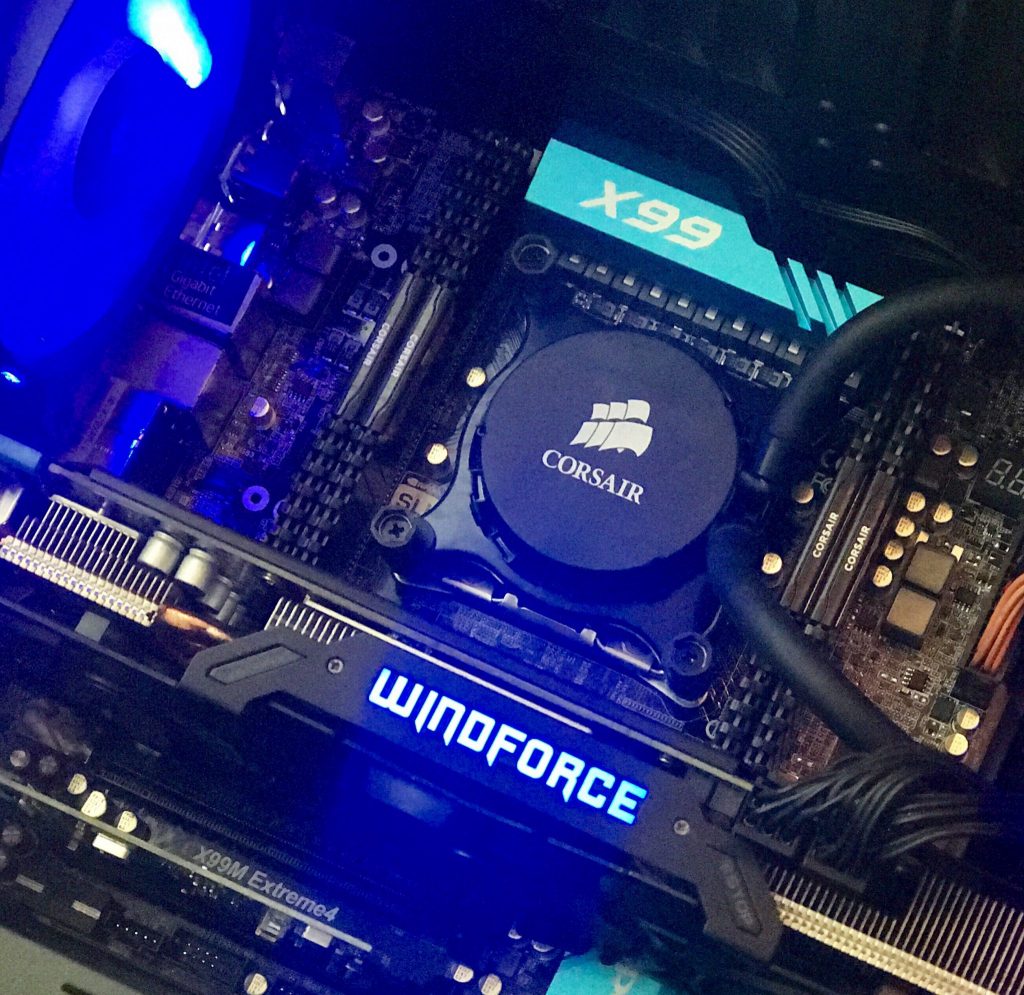
Asus X99M-WS Hackintosh Guide Sierra OS X

By | Hackintosh | One Comment

X99M-WS Hackintosh Guide Sierra OS X

Step 1. Clover Install USB key

Step 2. Create a bootable installer for macOS

Step 3.  Set Bios Options

Secure Boot = Disabled / Other OS

CSM Compatibility Mode = Disabled

for eXHCI handoff – set to Auto

if you don’t you will have boot issues even after restoring optimized defaults.

Sep 3.  Add NVME Kexts to patch to config.plist to allow installer to use NVME drive.

Step 3. Add Asus-X99m-ws-PERFECT-KEXTS

Step 4. Add Audio

To prepare the X99M-WS for Audio, let’s first mount the EFI partition with Clover Configurator

UNRAID Receive Side Scaling

By | Networking | No Comments

Receive Side Scaling in UNRAID is currently not possible. This may be a determining factor when considering this for your NAS. Samba 3 supports Multi Channel which allows you to use multiple gigabit Ethernet adapters from mixed manufactures to blast out the stream. You will need RSS support on your adapter to support this, which unfortunately UNRAID does not support, and clearly…should. If you can run RSS between Linux and Windows, then why can’t the Lime guys figure it out too?

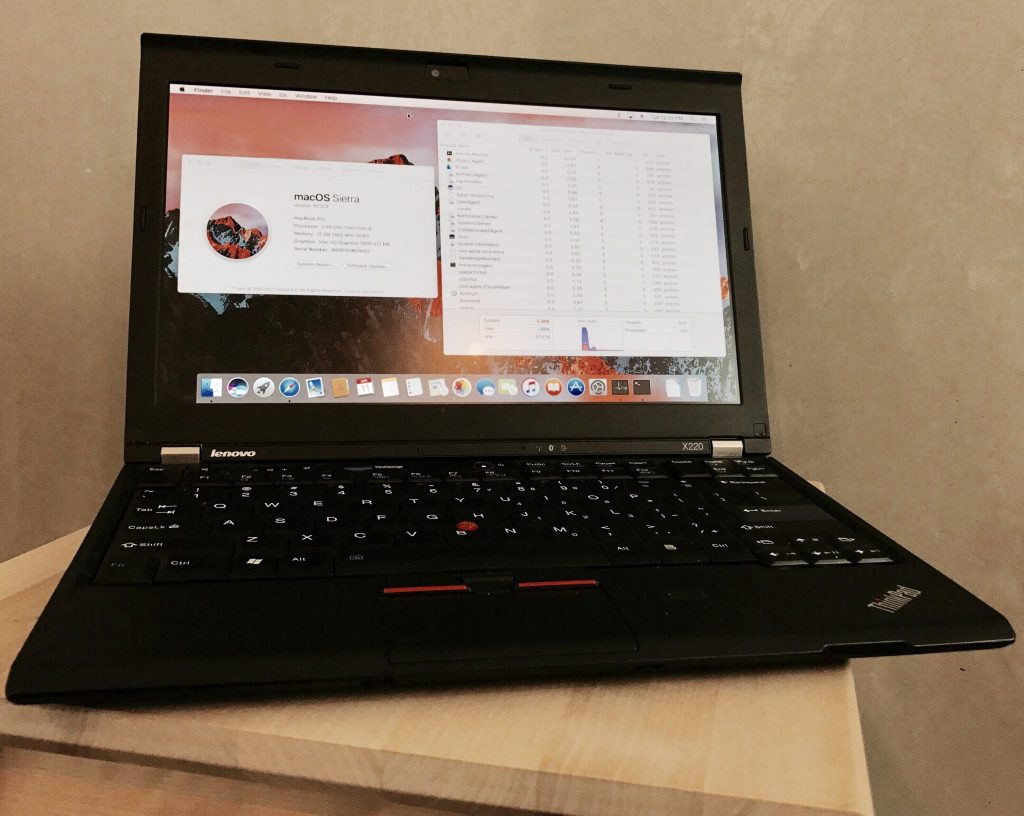
Lenovo Thinkpad X230 Hackintosh Guide Sierra OS X

By | Hackintosh | No Comments

Lenovo Thinkpad X230 Hackintosh Guide Sierra OS X

Step 1. Clover Install USB key

Step 2. Create a bootable installer for macOS

Step 3. Add Lenovo-Thinkpad-X230-PERFECT-KEXTS

os-x-voodoo-ps2-controller – required for usage of keyboard/mouse

Step 4. Add Audio

To prepare the X230 for Audio, let’s first mount the EFI partition with Clover Configurator

Edit config.plist to Inject Audio ID = “1” – this will allow the Audio_ALCinjection script to inject.

For Audio, the easiest solution (since Brix is quite old now) is to run Audio_ALCinjection.command

Inject Intel = true

Video Ports = 3 (or leave blank if you’re not messing with external monitors, I’m not sure if this does anything with intel and/or with detection but I have it)

ig-platform-id = 0x01660003

Upgrade and Replace Samba 4.6.2 Mac OS X Latest

By | Uncategorized | No Comments

Use macports and https://trac.macports.org/ticket/38834
— Solution!! —
Deactivate Kerberos5 in MacPort. To do that open the terminal and run this command.

sudo port -f -d deactivate kerberos5
Then clean up samba4 corrupted installation files, resync the MacPort database and install samba4 again use:

sudo port clean –all samba4
sudo port -d sync
sudo port install -sv samba4

Create a bootable installer for macOS Sierra

By | Hackintosh | One Comment

https://support.apple.com/en-us/HT201372

Open Disk Utility and Format/Partition your USB key with a GPT partition table and Untitled as the name.

Then run the following commands in a Terminal:

Example for Sierra:
[raw] sudo /Applications/Install\ macOS\ Sierra.app/Contents/Resources/createinstallmedia –volume /Volumes/Untitled –applicationpath /Applications/Install\ macOS\ Sierra.app
[/raw] Example for El Capitan:
[raw]sudo /Applications/Install\ OS\ X\ El\ Capitan.app/Contents/Resources/createinstallmedia –volume /Volumes/Untitled –applicationpath /Applications/Install\ OS\ X\ El\ Capitan.app
[/raw]

Now you are ready to run Clover!

h87n wifi mackintosh guide

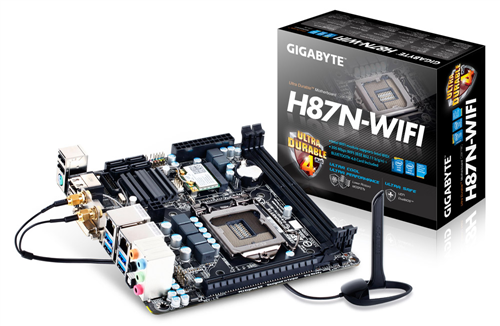
Gigabyte H87N-WiFi Hackintosh Guide OS X Sierra Clover

By | Hackintosh | No Comments

Gigabyte H87N-WiFi Hackintosh Guide OS X Sierra Clover

BIOS Settings: Restore to Default and match the following settings:

Choose OtherOS, UEFI ONLY, and Disable Secure Boot.  You should be good to go!

Step 1. Clover Install USB key

Step 2. Create a bootable installer for macOS

Step 3. Add Gigabyte-H87n-WIFI-PERFECT-KEXTS

Step 4. Add Audio

To prepare the Gigabyte H87n-WiFi for Audio, let’s first mount the EFI partition with Clover Configurator

Edit config.plist to Inject Audio ID = “1” – this will allow the Audio_ALCinjection script to inject.

For Audio, the easiest solution (since Brix is quite old now) is to run Audio_ALCinjection.command


Fix broken iMessage or AppStore Hackintosh

By | Hackintosh | No Comments
Broken iMessage and AppStore are generally caused by a bad configuration of ethernet or network cards!
Step 1.  Fix your Kext or issue then go to

[raw]cd /Library/Preferences/SystemConfiguration[/raw]
Step 2. Delete [raw]NetworkInterfaces.plist[/raw] & [raw]preferences.plist[/raw]
Step 3. Restart

OPNsense and pfSense run from RAM memory

By | Linux | No Comments

If you have ever wondered how to run a firewall/router from just memory, you are in luck. Both “Nano” version of OPNsense and pfSense will work great in the following flavor.

Configuration files are saved on the removable media and the read/write filesystem is stored in RAM!

Fix OsxAptioFixDrv Error Requested memory exceeds our allocated relocation block

By | Hackintosh | No Comments

I encountered the dreaded “Error requested, memory exceeds our allocated relocation block error” during a recent upgrade from 10.10 to 10.11 on my OS X Hackintosh. The fix was much simpler than imagined.

For OS X El Capitain, you must disable the existing “OsxAptioFixDrv” and enable “OsxAptioFix2Drv”

You cannot use both at the same time, so be sure to disable one – then enable the other.

Also, a bonus tip – during the upgrade if you’re using the nvidia drivers, you should boot with nv_disable=1 until you have a chance to upgrade the driver to the El Capitain version, then re-enable with nv_drv=1